Starting seeds indoors is a popular gardening method for Long Island gardeners who want to grow a wider variety of vegetables, herbs, and flowers. It’s a fun and rewarding project that can also help you save money by growing plants from seed. Best of all, seed starting is a great activity for the whole family and allows you to enjoy homegrown plants from spring through fall.
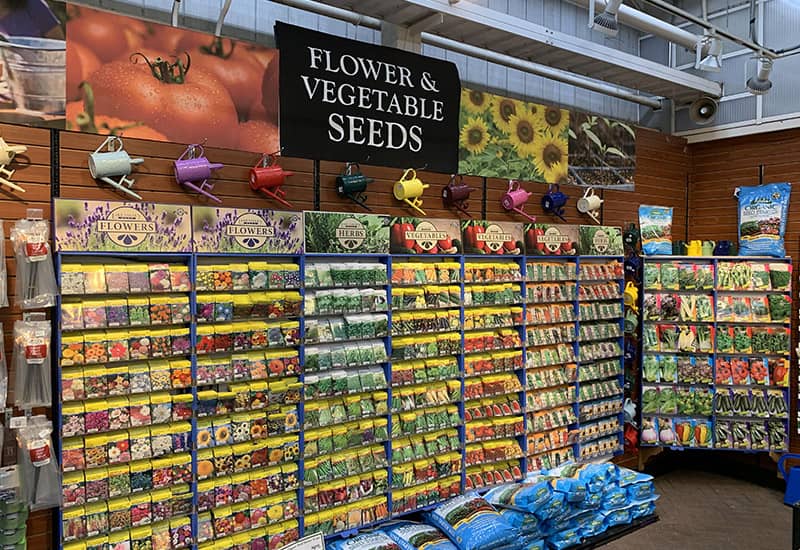
At Hicks Nurseries, we carry thousands of seed varieties from trusted companies including Hart, Lake Valley, and Botanical Interests. In addition, we offer a large selection of certified organic and non-GMO seeds, making it easy to choose options that fit your gardening style and goals.
Whether you’re growing vegetables, herbs, or flowers, following a few simple steps will help you successfully start seeds indoors at home.


Easy Steps to Starting Seeds Indoors at Home
1. Choose Your Seeds
First, decide what you’d like to grow. If you’re new to seed starting, choose varieties that are easy and reliable. Some beginner-friendly vegetables include beans, peas, and peppers. Flowers such as marigolds, zinnias, and alyssum are also simple to grow and add bright color to your garden.
2. Select the Right Containers
Next, gather your planting containers. For best results, start with seed trays, cell packs, or small planters, which are ideal for germinating seeds and keeping seedlings organized.
3. Use a Quality Seed-Starting Soil
Then, fill containers with an organic seed-starting mix. This lightweight medium helps roots grow strong and healthy. Gently press the soil into each cell, making sure it’s firm but not packed too tightly.
4. Moisten the Soil
Before planting, lightly moisten the soil until it is evenly damp. This helps improve germination and ensures the seeds settle properly.
5. Plant Your Seeds
Now it’s time to sow. Add 2–3 seeds per cell and press them gently into the soil. Then cover them with a light layer of additional soil.
6. Label Everything
As you go, label each tray or pot with the plant name and date. This makes it much easier to track growth and identify seedlings later.
7. Keep Seeds Warm
To encourage germination, cover the tray with plastic wrap or use a clear dome lid. Then place the tray in the warmest area of your home. Most seeds germinate best when temperatures reach around 70 degrees.
Once seedlings begin to sprout and leaves break through the soil, remove the cover and move the tray to a bright windowsill or under grow lights.
8. Transplant When Needed
As seedlings grow, they will eventually outgrow their starter containers. At that point, transplant them into larger pots so they have room to develop before going outside.
9. Harden Off Before Planting Outdoors
Finally, about a week before planting outside, you’ll need to “harden off” your seedlings. This step helps them adjust to outdoor sunlight and changing temperatures.
Start by placing the plants outside on a warm day in a shaded spot for a few hours, then bring them inside at night. Gradually increase their outdoor time each day. By the end of the week, your seedlings will be ready to plant in the garden.
Enjoy the Results
In the end, growing your own vegetables, herbs, and flowers is a rewarding accomplishment. From planting to harvesting, it’s a great way to spend time with family and enjoy the benefits of homegrown gardening.
Visit Hicks Nurseries to shop our large selection of seeds and find everything you need for successful seed starting indoors.